

Footings prepared
because the base of the of this PowerBrace will be concreted in with a large footing., the footing of the home is cut back so that the PowerBrace can be anchored right against the wall.
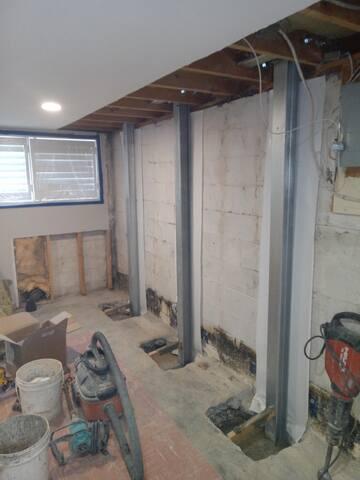
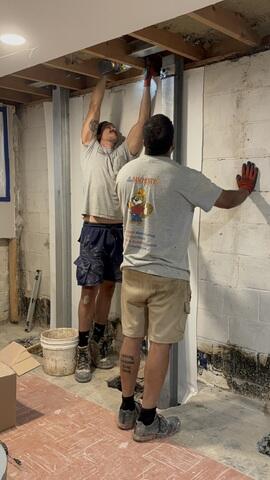
Beams installed
The 4" "I" beams are installed in place.
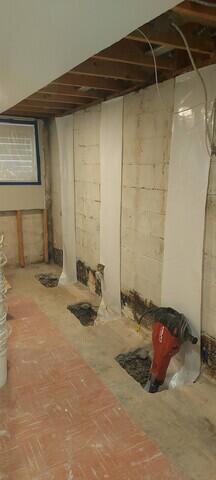
Bridge bracket
In this case, the floor joists run perpendicular to the wall so a Bridge bracket holds the top of the brace. The load is spead across the floor system which is very strong.
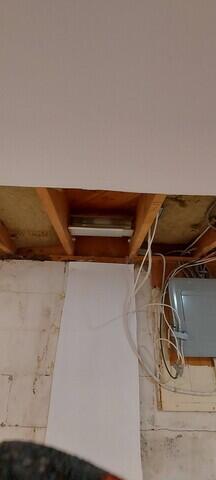
Lever bracket
On the wall, the joists are running parallel to the wall so a lever bracket is used and some joist blocking is installed.
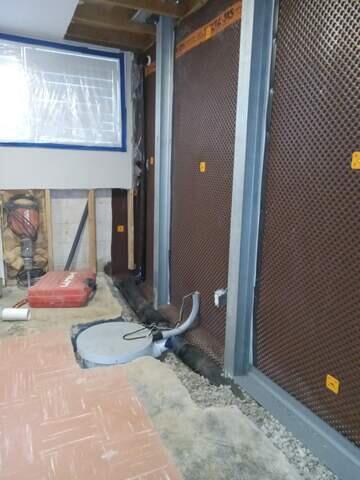
Sup pump
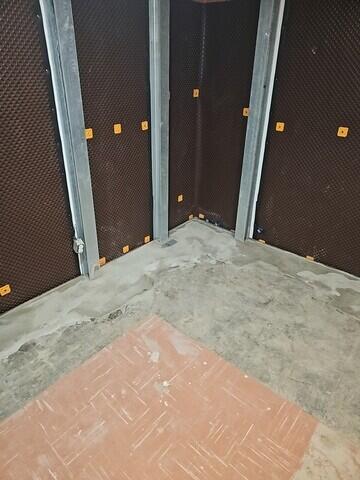
The Sump here is part of the waterproofing system that is going in place.
Attaching the bridge bracket
The Bridge bracket at the otp connects the PowerBrace to two floor joists for the most load capacity.
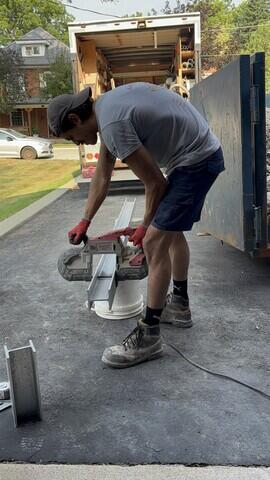
PowerBrace cutting
The PowerBrace is cut to the correct length. This takes some time as steel is very hard.
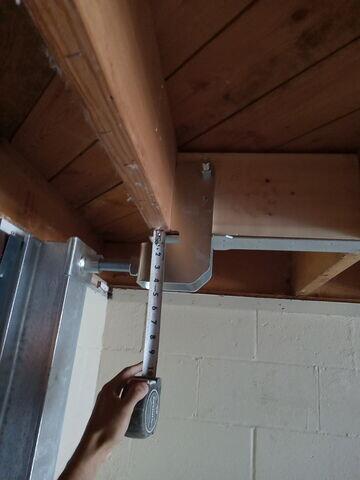
Lever Bracket
When the joists run [parallels, the Lever bracket is used. As you can see, this bracket hangs down below the joists 4". The customer must be aware of this so they can plan to build a bulkhead or a drop ceiling.
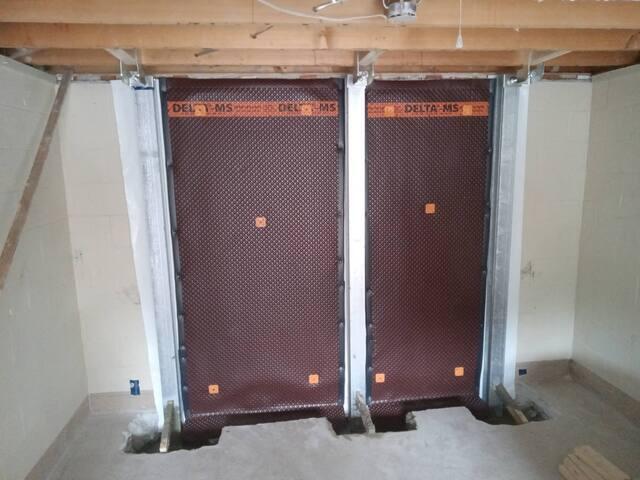
Delta on walls
delta is placed between the PowerBrace and used as a waterproofing membrane.
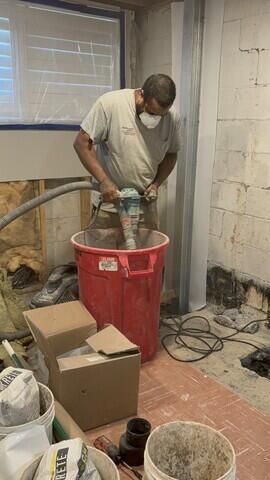
Concrete mixing
Concrete is mixed in the hom.
Block shear
When the bottom block does not move because of the floor holding it in place, the rest of the wall shears and moves over top. In places in this home, the block shear was up to 5".
Typical corner step cracks
The adjacent wall is holding the corner in place so you will normally see this step cracking in a bowing wall.